Set up and run your facility
As an Administrator, you build your facility's structure and your team, and you get full access to incident management.
Create your account
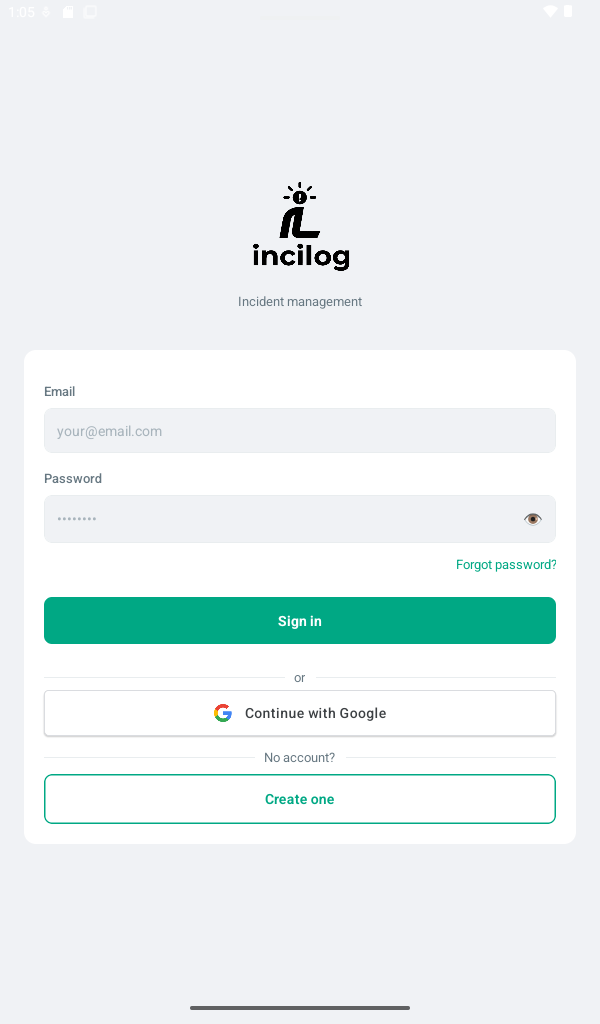
On the welcome screen, tap "Create one"Enter your name, your email, and a password, then submit.
A verification code is sent to your email: enter it on the next screen to activate your account.
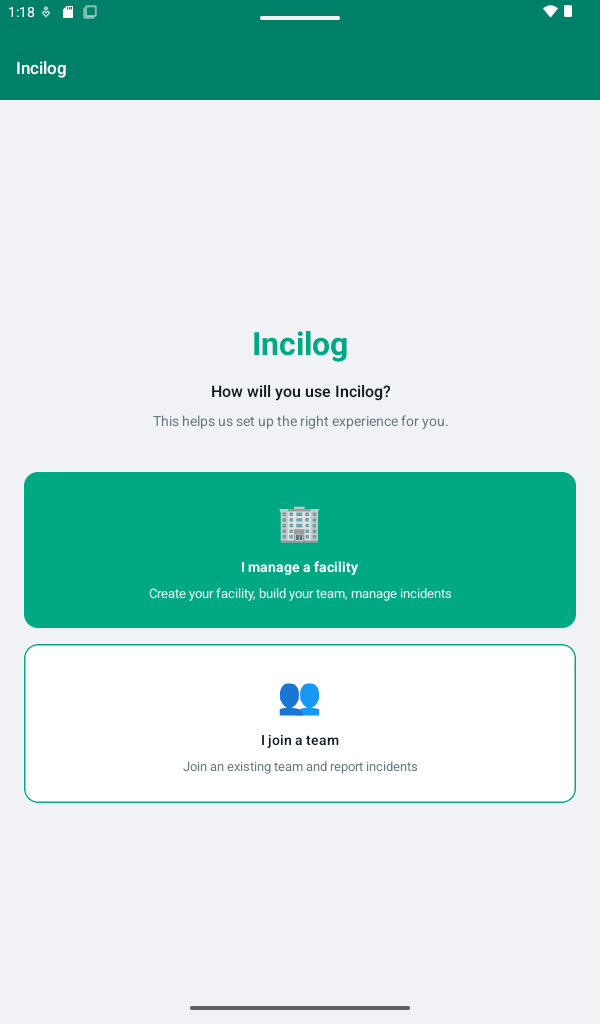
Choose "I manage a facility"
On first login, on the "How will you use INCILOG?" screenTap the "I manage a facility" card to set up your own structure.
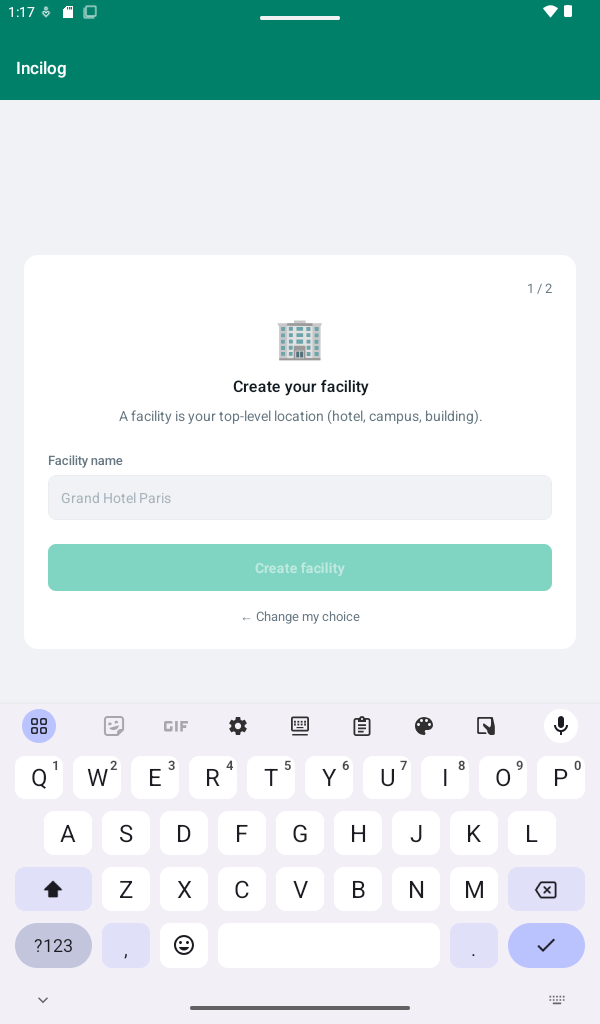
Create your facility
Onboarding step 1 of 2Give your facility a name (hotel, campus, building...) then tap "Create facility". This is the starting point of your whole location tree.
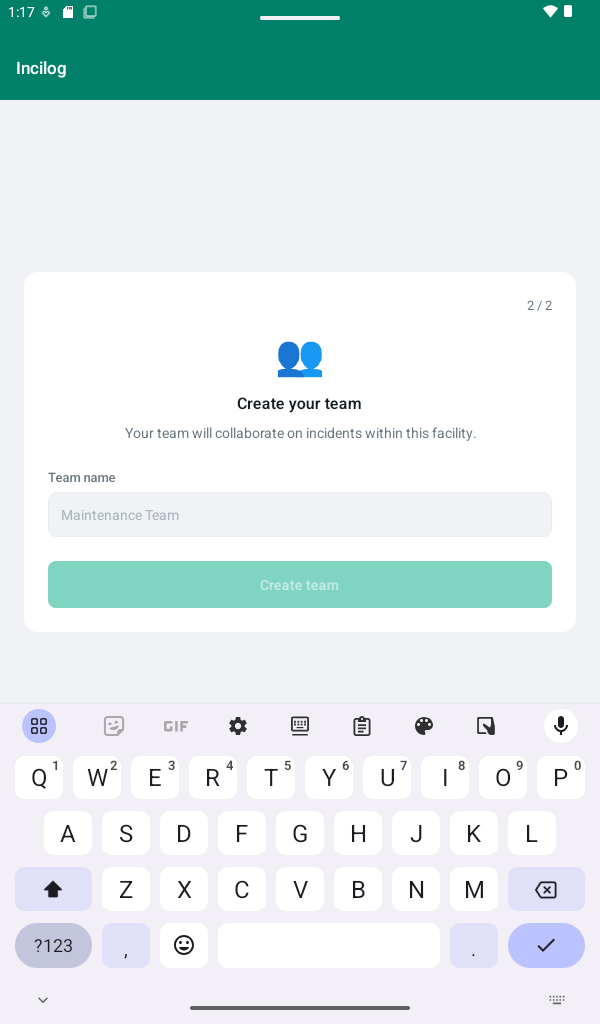
Create your team
Onboarding step 2 of 2Name your first operational team, then tap "Create team". A unique invite code is generated automatically: you'll share it with your colleagues in step 9.
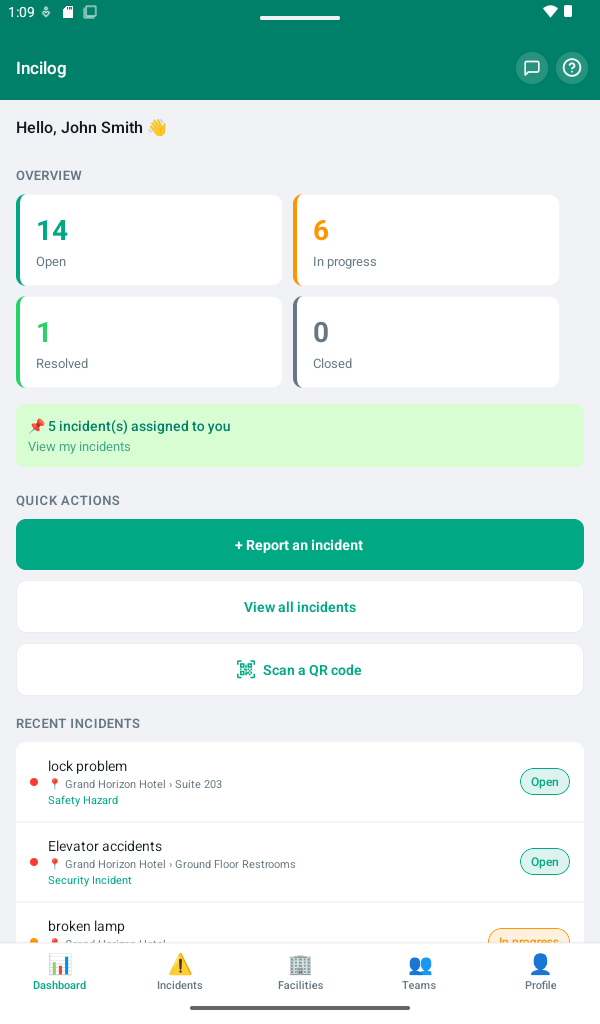
Your dashboard
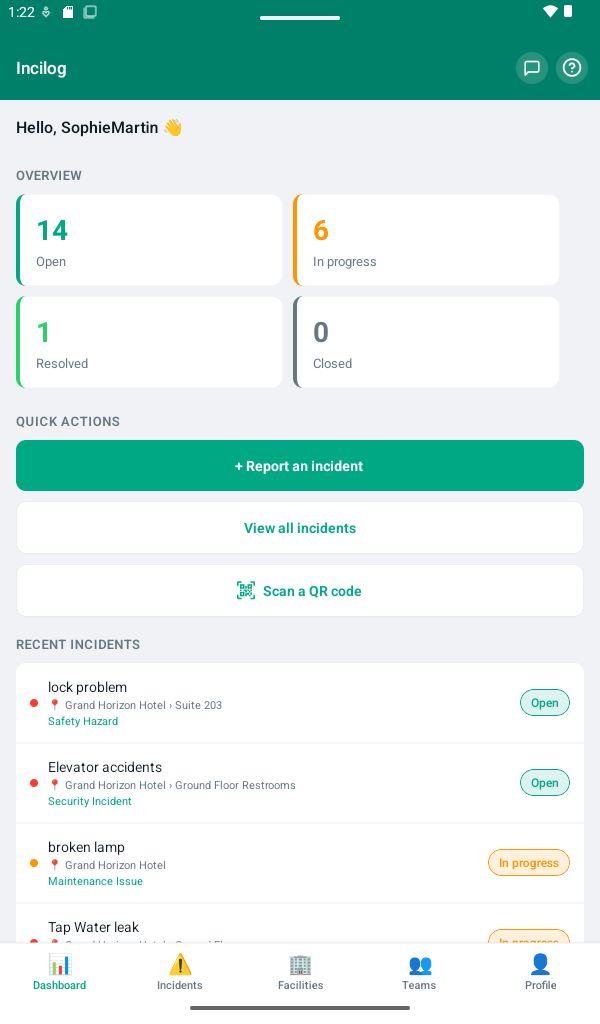
"Dashboard" tab, first tab at the bottom of the screenAn overview of open, in-progress, resolved and closed incidents, pending membership requests, and quick access to report an incident, view the full list, or scan a QR code.
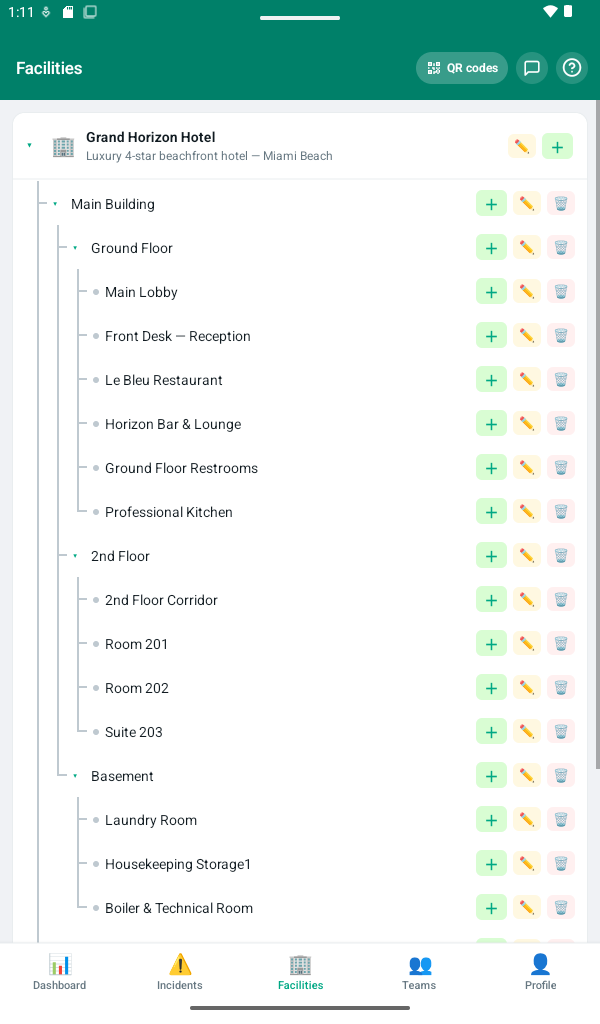
Structure your locations
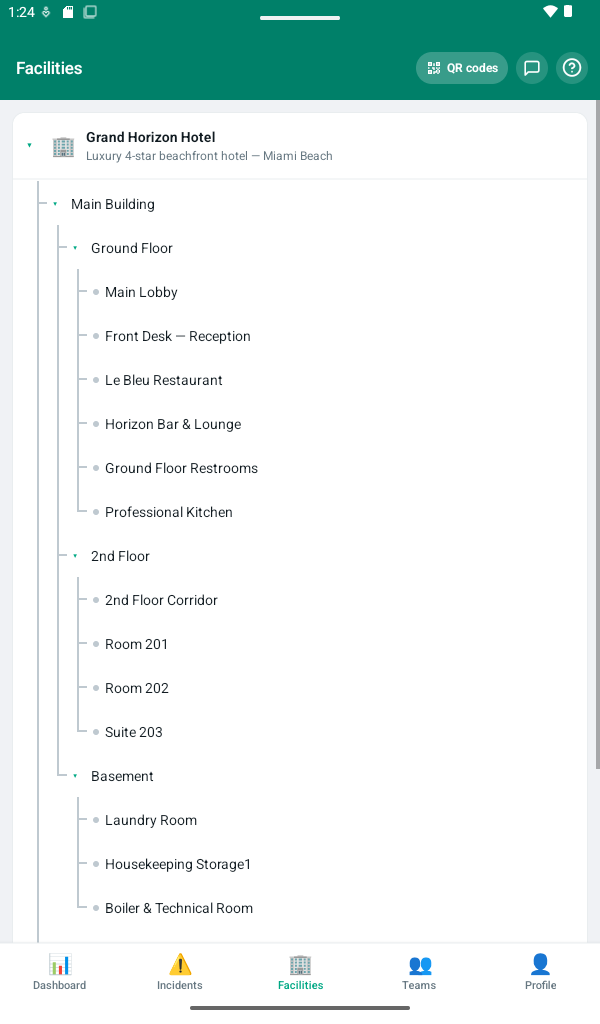
"Facilities" tabBuild your facility's tree: buildings, floors, rooms, zones. Tap the "+" next to a location to add a sub-location, the pencil to edit it, the trash can to delete it.
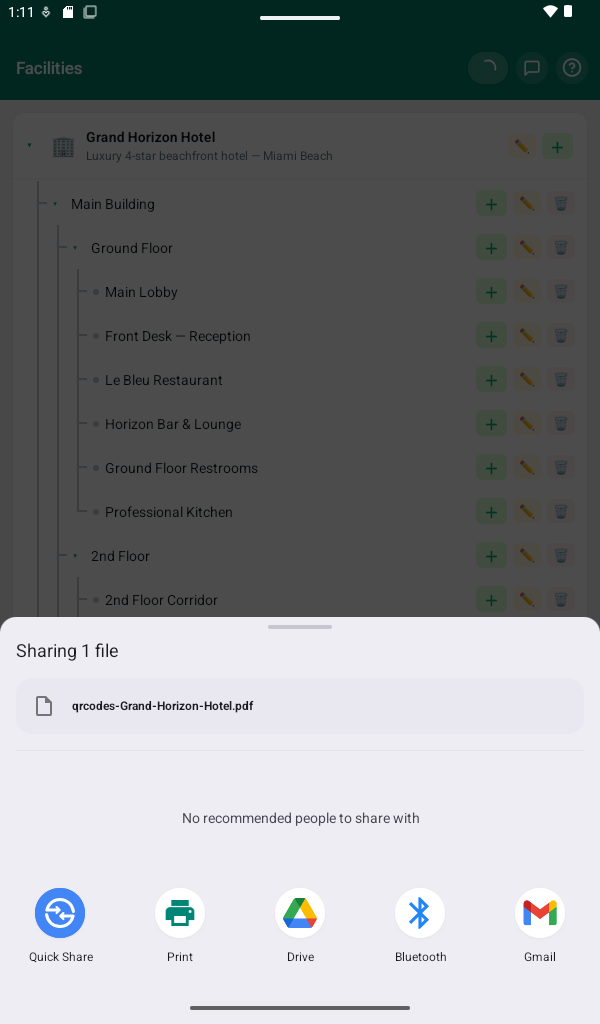
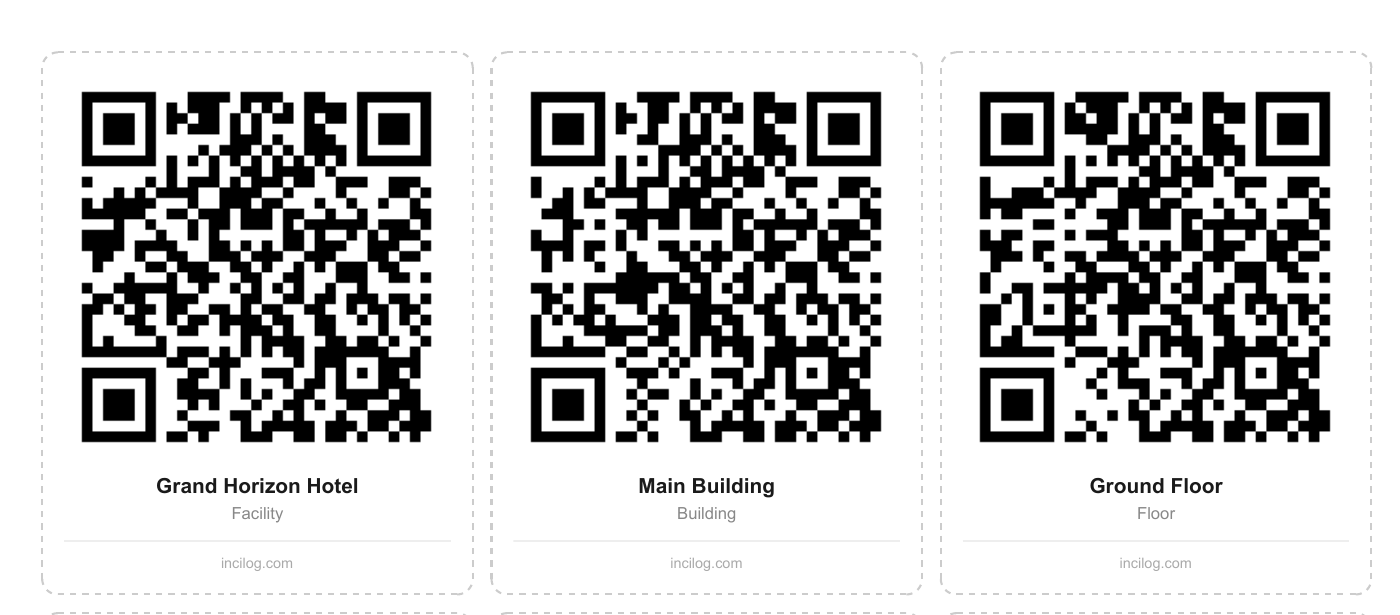 A sample of the resulting PDF: one QR code per location, ready to cut out and stick up.
Print your QR codes
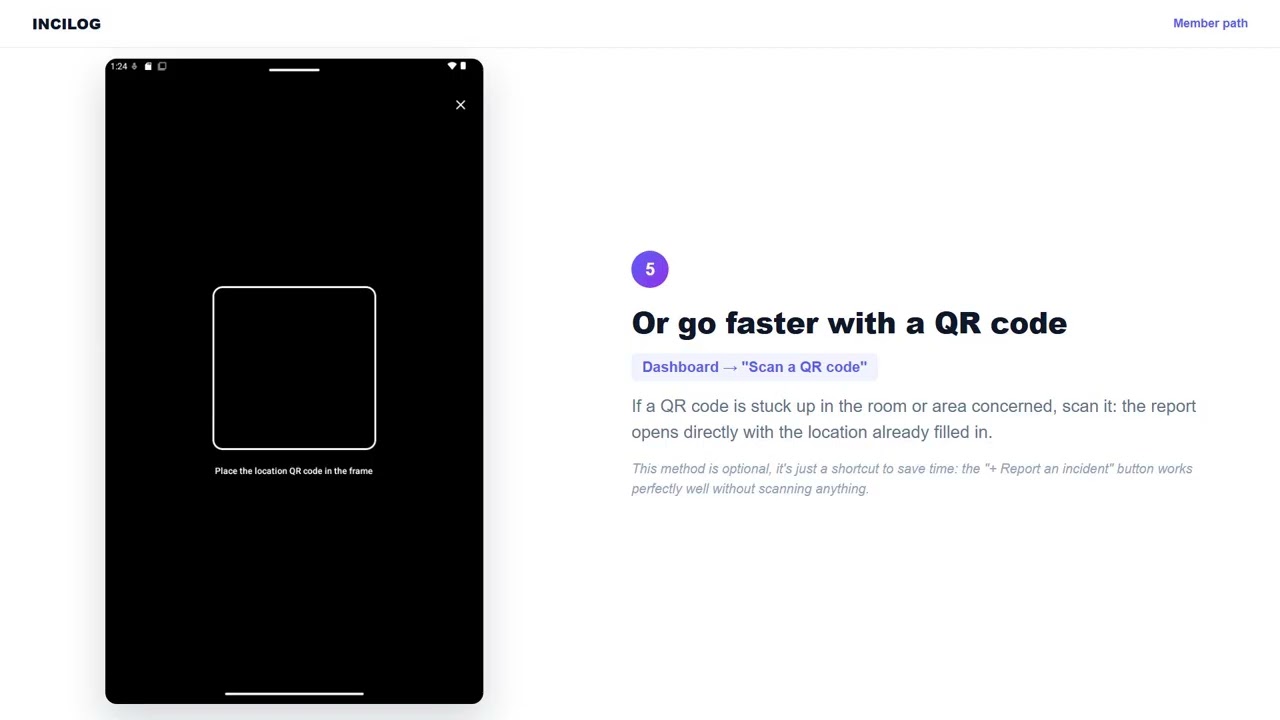
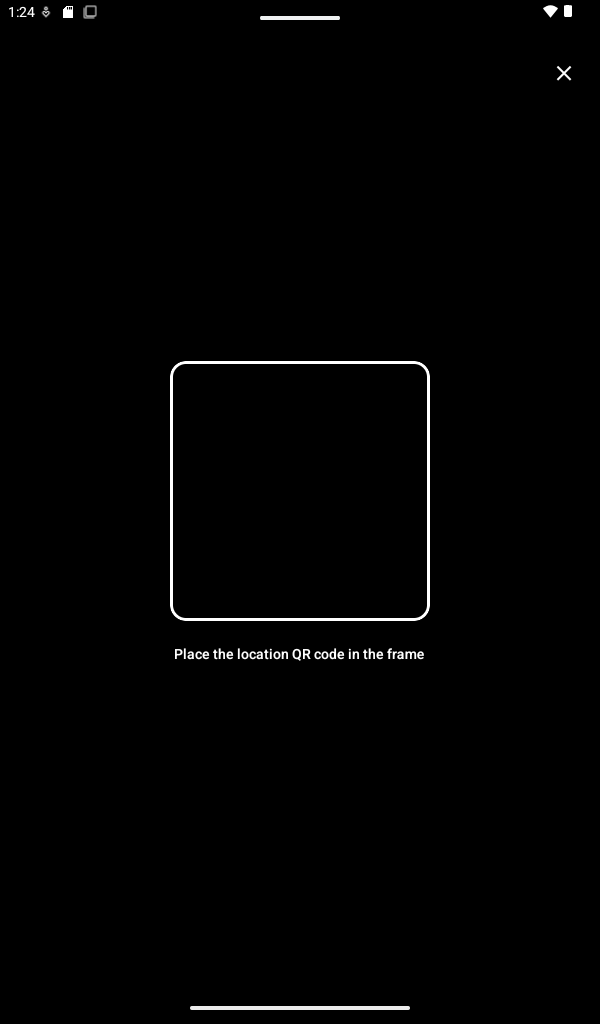
"Facilities" tab → "QR codes" button at the top rightGenerate a PDF with every location's QR code in one tap. Stick them up on site: your team can then scan one to report an incident with the location already filled in, as shown in step 11.
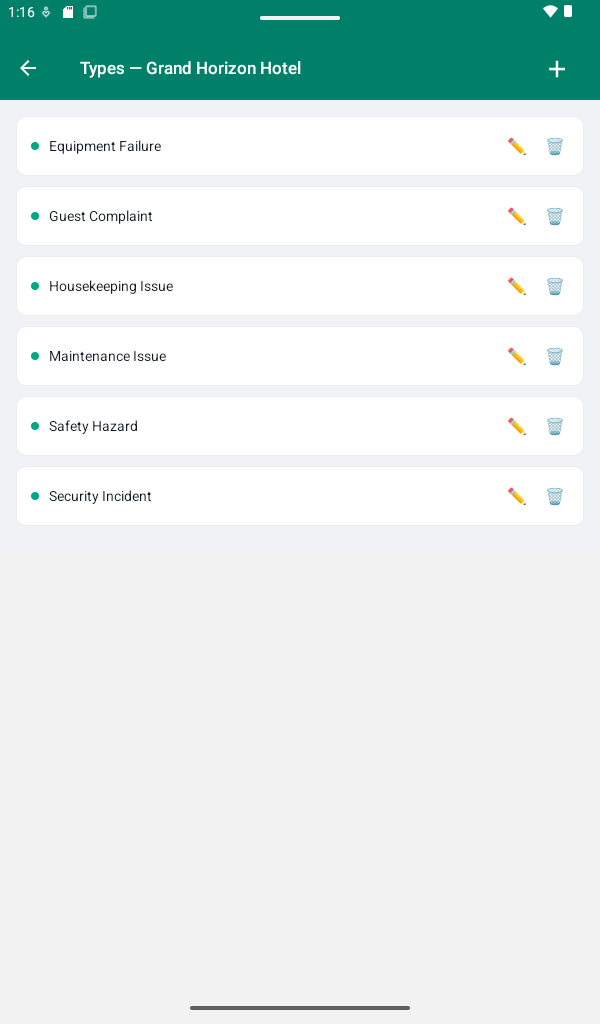
Customize your incident types
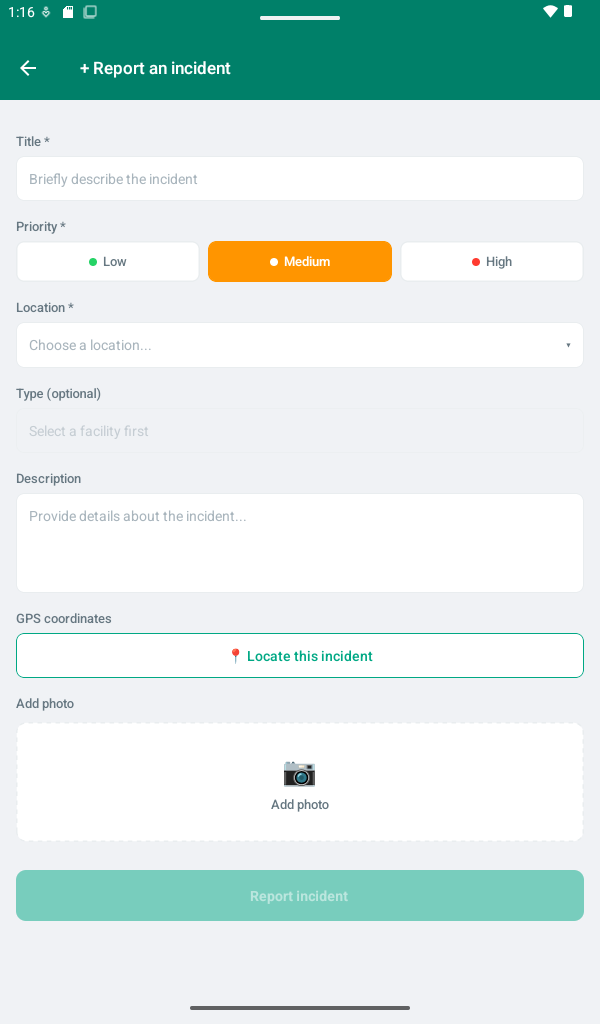
Dashboard → "+ Report an incident" → pick a location → "Type" menu → "Manage"Tailor categories to your business: equipment failure, guest complaint, housekeeping, security... Add, edit, or delete a type for each facility.
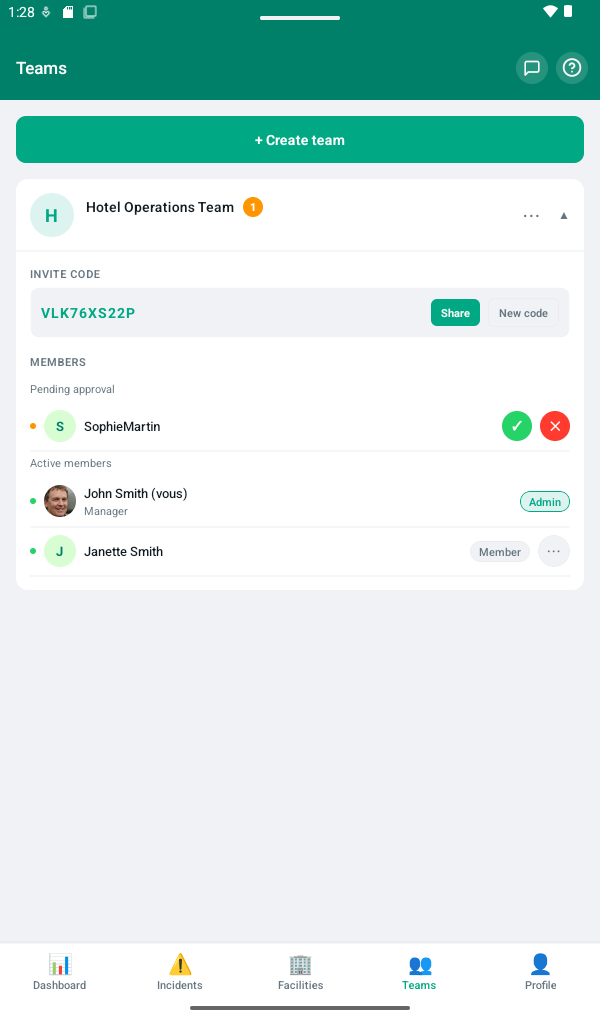
Invite and approve your team
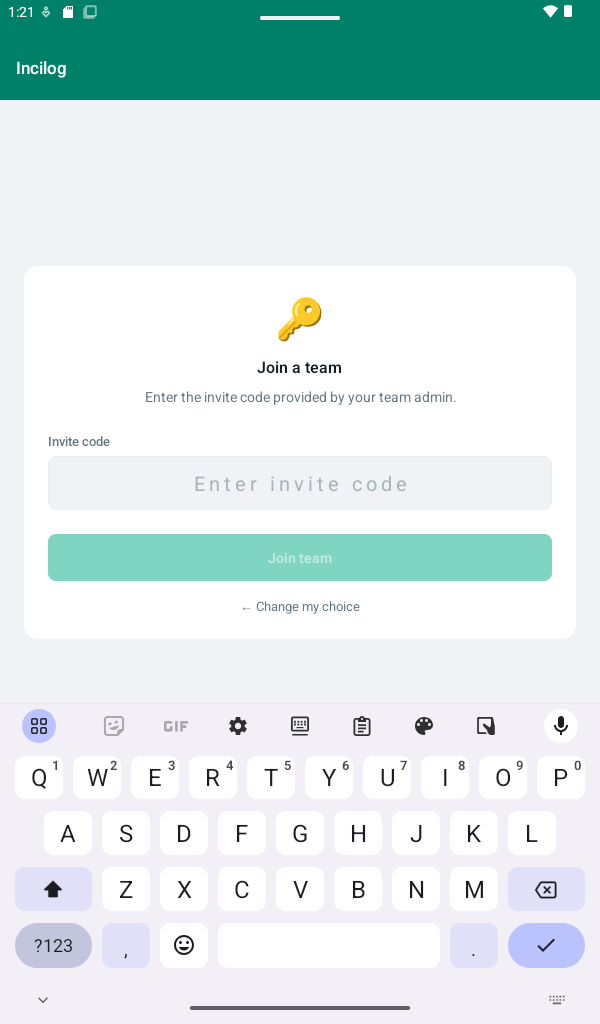
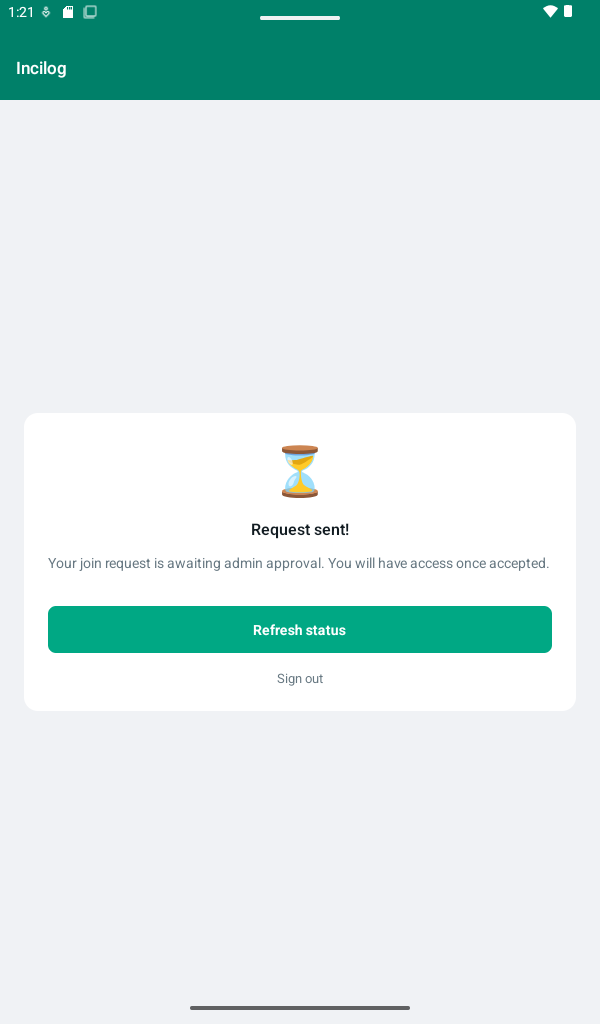
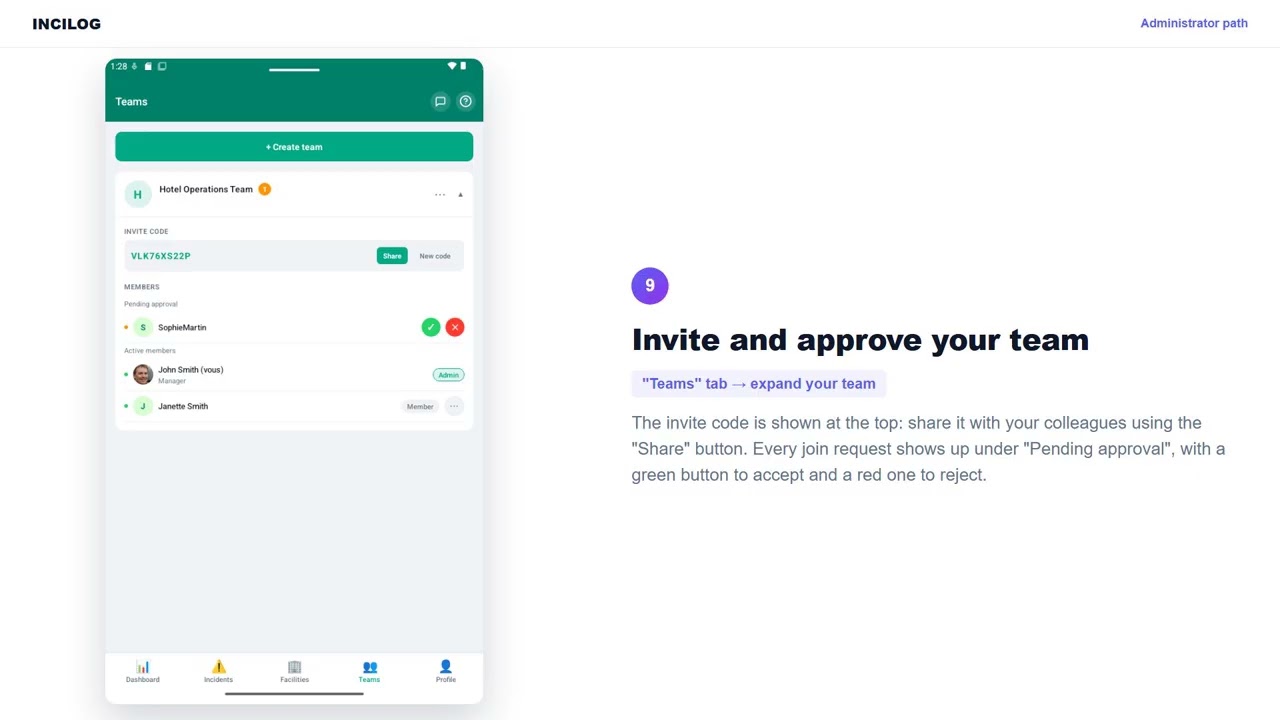
"Teams" tab → expand your teamThe invite code is shown at the top: share it with your colleagues using the "Share" button. Every join request shows up under "Pending approval", with a green button to accept and a red one to reject.
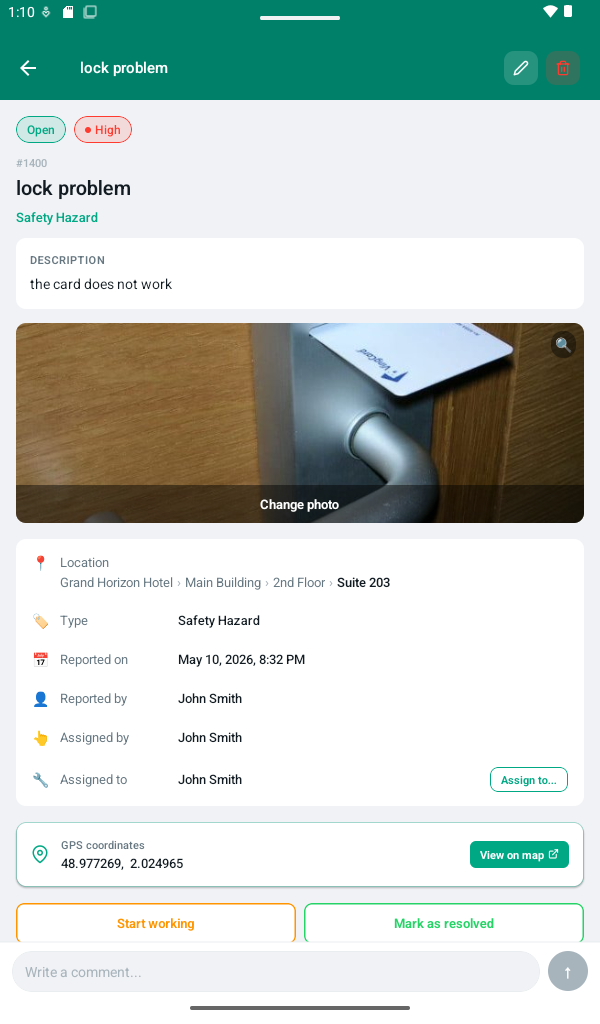
Manage incidents
"Incidents" tab → tap an incidentPhoto, exact location, type, GPS coordinates, comment history. Tap "Assign to..." to hand the incident to a member, "Start working" to take it on, or "Mark as resolved" once it's handled.
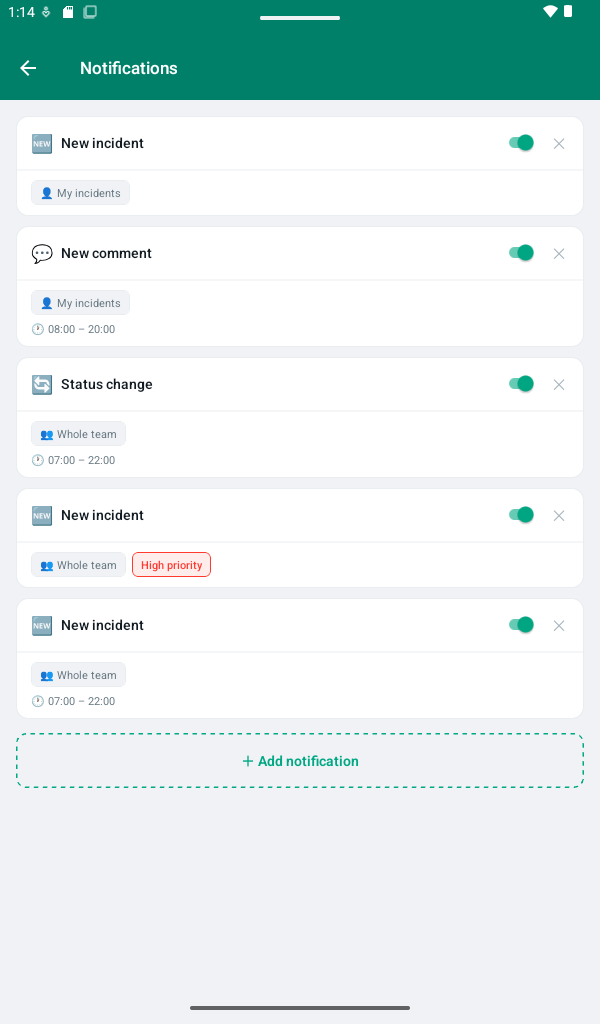
Customize your push notifications
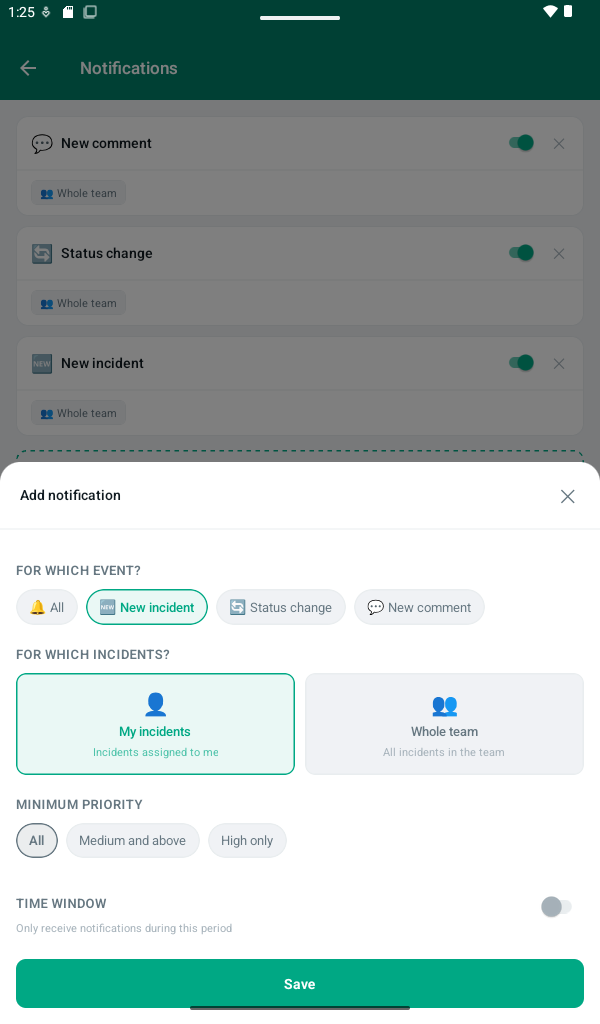
Profile → NotificationsThe notification system is fully customizable. For each alert type (new incident, comment, status change...), you choose:
the scope (your incidents only or the whole team), a minimum priority, and a time window during which you're willing to be notified.
Tap "+ Add notification" to create a new rule, or the "X" to remove one.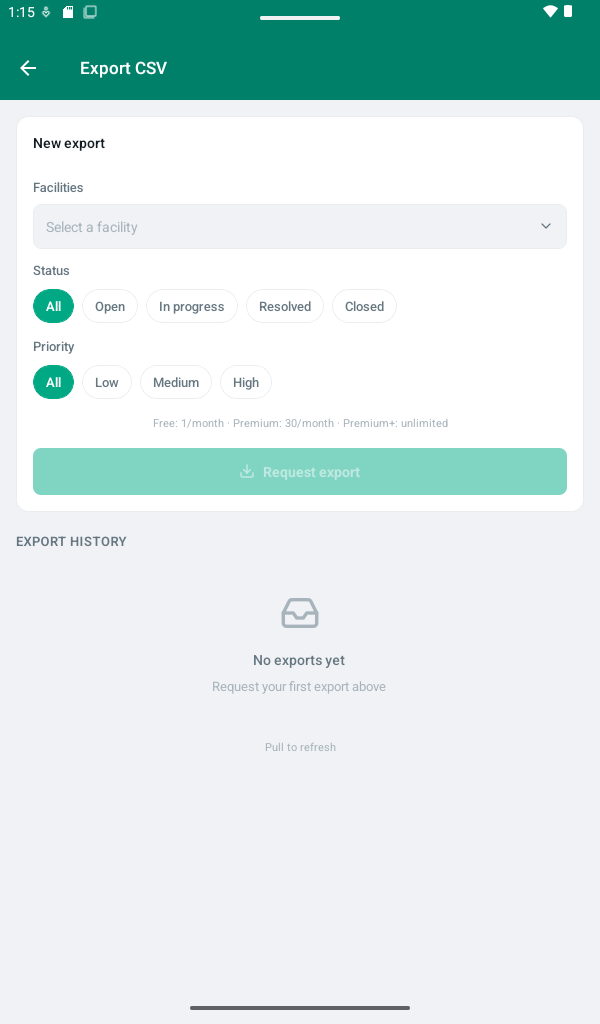
Export your data
"Incidents" tab → download icon at the topPick your filters (facility, status, priority) then tap "Request export". Generation isn't instant: it runs in the background, and you get an email as soon as the CSV file is ready to download.
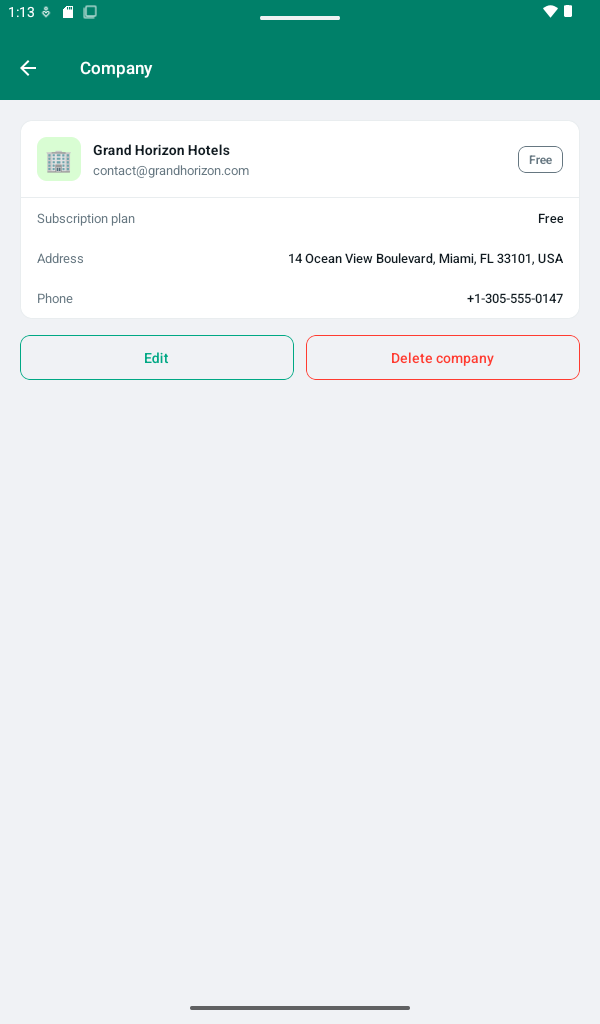
Manage your company
Profile → CompanyUpdate your company information (address, contact) and check your subscription plan.